Siding Installation Tips: The Definitive Guide to High-Performance
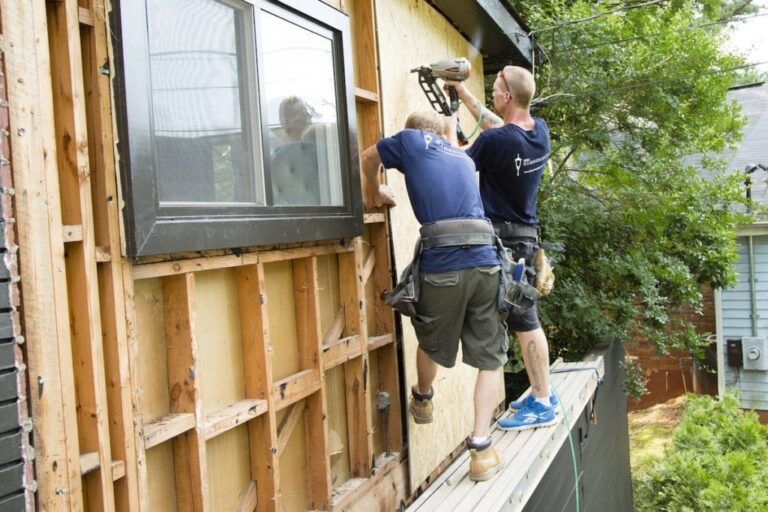
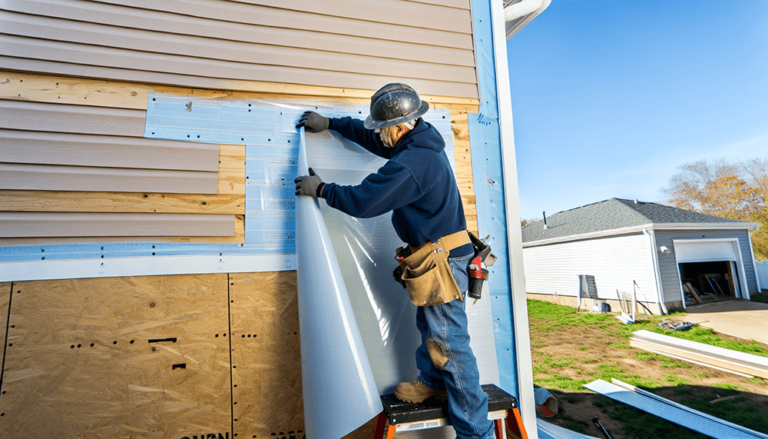
The execution of a building’s exterior cladding is often the most visible indicator of its structural health, yet the technical nuances that govern a truly high-performance installation remain largely misunderstood by the broader market. Siding Installation Tips. In the American construction landscape, where climatic conditions fluctuate from the sub-arctic freeze of the North to the humid, saline saturation of the Gulf Coast, siding is not merely a cosmetic choice. It is a sophisticated hydrothermal barrier. A failure to respect the physics of the wall assembly during the installation phase does not merely result in an aesthetic defect; it sets the stage for systemic structural rot, compromised indoor air quality, and the premature depletion of capital assets.
As building codes evolve toward more stringent energy efficiency and airtightness standards, the margin for error in the field has narrowed significantly. Traditional “barrier wall” philosophies, which relied on the hope that water would never penetrate the outer skin, have been replaced by the “managed drainage” model. This paradigm shift acknowledges the inevitability of moisture intrusion and focuses instead on the wall’s ability to dry. Consequently, the contemporary installer must function as a building scientist as much as a craftsman, understanding how vapor drive, capillary action, and thermal bridging intersect at the fastener level.
To navigate this complexity, one must move beyond the superficial instructions found in product catalogs. A definitive approach to the building skin requires an analytical deep dive into the “hidden” components—the weather-resistive barriers, the integrated flashings, and the pressure-equalized rainscreens—that determine whether a facade will last fifteen years or fifty. This investigation provides the intellectual and practical framework necessary to achieve an institutional-grade exterior, ensuring that the structural envelope serves as a resilient shield against the environmental entropy of the 21st century.
Understanding “siding installation tips”
In the context of professional editorial and engineering standards, the phrase siding installation tips refers to a comprehensive set of protocols designed to mitigate the inherent vulnerabilities of a building’s skin. A common misunderstanding in the residential sector is that the “best” tip is one that simplifies the labor. In reality, the most critical tips are often those that add layers of complexity—such as the inclusion of a ventilated rainscreen or the meticulous execution of “kick-out” flashings. These steps are frequently skipped in commodity-level construction, yet they are the primary determinants of a structure’s longevity.
Oversimplification in this field represents a significant risk to property owners. For example, many online resources focus on the mechanical act of nailing a panel to a stud without discussing the “perm rating” of the underlying housewrap. If the siding is installed too tightly against a low-permeability barrier in a humid climate, the result is a “vapor sandwich” that traps moisture against the wooden sheathing. True mastery of installation requires a multi-perspective view: the installer must consider the structural load, the hydrothermal movement, and the thermal expansion of the material simultaneously.
Furthermore, the search for the definitive exterior solution must account for “Detail Fatigue.” High-end materials like fiber cement or architectural zinc are often compromised by the use of standard, off-the-shelf sealants or non-compatible fasteners. Therefore, the most valuable siding installation tips are those that emphasize the “system” over the “product.” This involves verifying that every component—from the starter strip to the frieze board—is engineered to facilitate the three pillars of wall performance: shedding, draining, and drying.
Deep Contextual Background: The Systemic Evolution of Cladding
The American exterior has transitioned from a “leaky” organic model to a “tight” engineered model over the last two centuries. In the 1800s, siding was typically thick, old-growth timber nailed directly to heavy framing. These houses were inherently inefficient from an energy perspective, but they were exceptionally resilient to moisture because the constant airflow through the wall cavity allowed the wood to dry rapidly. The “installation tip” of that era was simply to ensure the wood was properly seasoned and painted.
The mid-20th century introduced the “barrier” era, characterized by the rise of aluminum and vinyl. These materials were marketed as “maintenance-free,” but they introduced a new problem: they were so effective at shedding water that when moisture did get behind them—via wind-driven rain or condensation—it had no way to escape. The resulting “hidden rot” led to a crisis in building science that birthed the modern rainscreen.
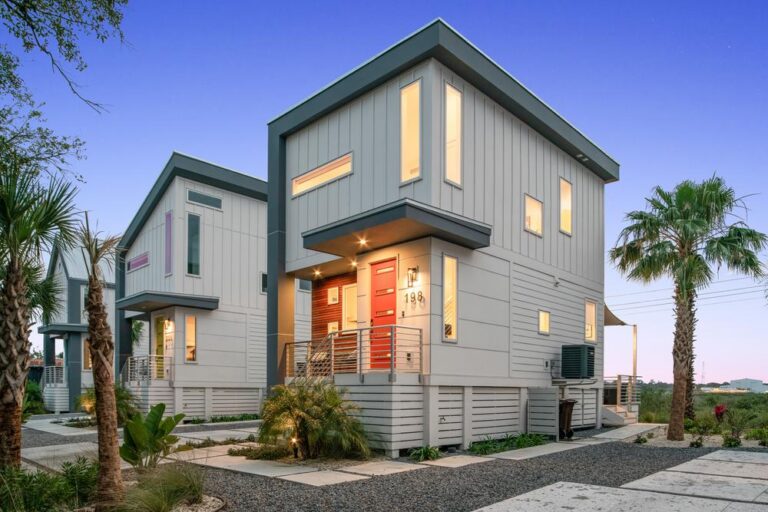
Today, we operate in the “Managed Drainage” era. We no longer expect the siding to be perfectly waterproof. Instead, we treat the siding as a “rainscreen”—the first line of defense in a multi-layered assembly. This evolution reflects a broader shift in American architecture toward “Active Envelopes,” where the wall is designed to manage environmental loads dynamically rather than resisting them statically.
Conceptual Frameworks and Mental Models
To execute a superior installation, practitioners must utilize specific mental models that govern the movement of energy and moisture:
1. The Rainscreen Principle (Pressure Equalization)
The most advanced installations utilize a “ventilated rainscreen.” By creating an air gap (typically 1/4″ to 3/4″) between the siding and the weather-resistive barrier, the air pressure in the cavity equalizes with the exterior wind pressure. This neutralizes the force that would otherwise “suck” water through the fastener holes or joints.
2. The Solar Vapor Drive Model
In humid climates, sunlight hitting a wet wall can turn liquid water into vapor and drive it inward toward the air-conditioned interior. A professional installation plan must account for the “inward drive” by ensuring the interior vapor retarder is “smarter” than the exterior barrier, allowing the wall to dry toward the inside if necessary.
3. The Capillary Break Framework
Water can move upward against gravity through narrow spaces (capillary action). A critical framework for installation is ensuring that every joint and overlap has a large enough gap to break this surface tension, preventing water from being wicked into the sensitive structural sheathing.
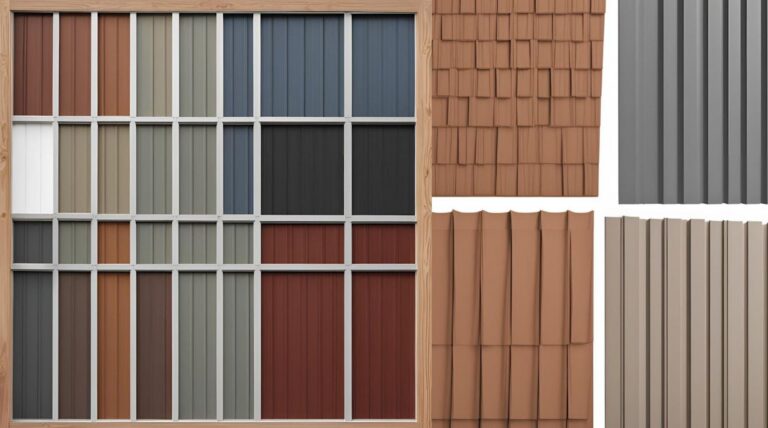
Material Taxonomy: Installation Nuances and Trade-offs
Each material class requires a distinct set of installation protocols to manage its physical limitations.
| Material | Primary Installation Constraint | Fastener Requirement | Thermal Expansion |
| Fiber Cement | Silica dust/Weight | Stainless Steel (Blind Nailed) | Low |
| Vinyl (PVC) | Floating movement | Large-head galvanized (Loose) | Very High |
| Architectural Metal | Oil-canning/Expansion | Fixed vs. Sliding Clips | Moderate |
| Engineered Wood | Edge sealing | Corrosion-resistant (Hot-dipped) | Low |
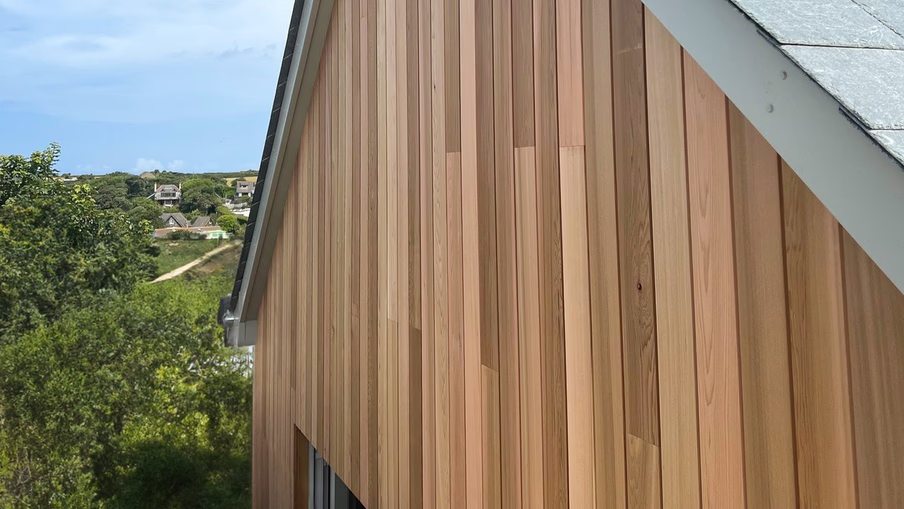
| Natural Cedar | Tannin bleed | Stainless Steel (Siding Nails) | Moderate |
Realistic Decision Logic
If the project is in a high-fire-risk zone (WUI), the installation must prioritize Fiber Cement or Metal with non-combustible venting. If the project is a budget-driven suburban retrofit, Vinyl is the logical choice, but only if the installer respects the “loose nailing” rule—leaving 1/32″ between the nail head and the siding to allow the panel to expand and contract without buckling.
Detailed Real-World Scenarios: Site-Specific Adaptations Siding Installation Tips
Scenario 1: The Coastal Salt-Spray Zone
In regions like the Outer Banks or the Florida Keys, standard galvanized fasteners will fail within 5-10 years. The definitive installation tip here is the mandatory use of 316-grade stainless steel. Furthermore, the siding must be “back-primed” (sealed on the rear side) to prevent salt-air moisture from being absorbed into the core of the material.
Scenario 2: The Mountain West (Extreme UV and Aridity)
In high-altitude environments, the primary risk is “cupping” and UV degradation of organic materials. If installing natural wood or certain composites, the boards must be installed with a minimum 1/8″ gap at all vertical joints to account for the intense diurnal temperature swings that cause rapid expansion.
Scenario 3: The Urban Heat Island
In dense cities, dark-colored siding can reach surface temperatures exceeding 180°F. If installing materials like PVC or Phenolic panels, the installer must use “slotted” fastening systems that allow the material to “travel” horizontally. Failure to do so results in “oil-canning,” where the panels permanently warp.
The Economics of Execution: Cost Variability and Lifecycle Value
The financial planning for a siding project is often skewed by a focus on “installed cost” rather than “Life-Cycle Cost” (LCC).
-
Direct Costs: Materials and Labor. High-performance rainscreen systems typically add 15-25% to the initial labor quote.
-
Indirect Costs: Scaffolding, debris disposal, and the “Detail Tax”—the extra time required to properly flash complex window geometries.
-
Opportunity Cost: Failing to add continuous insulation (CI) during a siding project represents a lost opportunity to reduce HVAC loads for the next 30 years.
30-Year Lifecycle Comparison (National Average for 2,500 Sq. Ft.)
| Siding Type | Initial Cost | 30-Year Maintenance | Total Lifecycle Value |
| Standard Vinyl | $18,000 | $12,000 (Replace) | Low |
| Fiber Cement | $32,000 | $8,000 (Paint) | High |
| Architectural Zinc | $65,000 | $2,000 (Clean) | Very High |
| Engineered Wood | $28,000 | $10,000 (Paint) | Moderate |
Tools, Strategies, and Support Systems
The “best” installation is supported by a specialized toolkit that ensures precision and accountability:
-
Pneumatic Depth Gauges: Crucial for fiber cement to ensure nails are driven “flush” but not “over-driven,” which crushes the material and creates a water pocket.
-
Laser Levels & GPS: For large-format panels, maintaining a perfectly level starter strip is the only way to ensure the top rows align correctly over 50-foot runs.
-
Kick-out Flashing Jigs: A specialized tool to custom-bend metal flashings that divert roof water away from the wall-to-roof intersection.
-
Integrated Window Pans: Moving away from “tape-only” flashings toward pre-formed rigid pans that provide a secondary drainage path for window leaks.
-
Moisture Meters: Checking the moisture content (MC) of the sheathing before the weather barrier is applied. If the wood is over 19% MC, the siding should not be installed.
-
Self-Adhered WRBs (Peel-and-Stick): While more expensive than traditional wraps, these provide a superior air seal and prevent “wind-washing” of insulation.
-
Thermal Imaging Cameras: Used post-installation to verify that the continuous insulation has no gaps.
The Risk Landscape: A Taxonomy of Installation Failures
The risk of siding failure is rarely catastrophic on day one; it is a compounding process.
-
The “Invisible Leak”: Occurs at the window head when the installer fails to include a “drip cap.” Water enters the wall cavity and stays wet, rotting the studs while the siding looks perfect on the outside.
-
Capillary Saturation: Occurs when siding is installed too close to the ground (minimum 6″ clearance required) or a roofline (minimum 2″ clearance). The material “wicks” water upward, leading to delamination.
-
Fastener Bleeding: Occurs when non-compatible nails react with the tannins in wood or the minerals in cement, creating unsightly black streaks that cannot be painted over.
-
The Vapor Sandwich: Occurs when an airtight siding is installed over a non-breathable barrier, trapping interior moisture and leading to systemic mold.
Governance, Maintenance, and Long-Term Adaptation
A siding system is a managed asset. To maximize its lifespan, the following “governance” protocol should be implemented:
-
Annual Inspection: Focus on the “weep holes” at the bottom of the wall. If these are clogged by mulch or dirt, the drainage system is neutralized.
-
10-Year Sealant Audit: Most high-performance sealants (caulk) have a 10-15 year lifespan. At this interval, all window and door transitions should be inspected for “peel-back.”
-
Vegetation Control: Ensuring that landscaping is kept at least 12 inches away from the siding to allow for proper airflow in the rainscreen cavity.
-
Adjustment Triggers: If the home undergoes an interior remodel that adds significantly more insulation, the exterior wall’s “drying potential” must be reassessed for vapor drive risks.
Measurement, Tracking, and Evaluation
How do we quantify the success of a siding project?
-
Leading Indicators: The precision of the fastener pattern. A consistent, “by-the-book” nailing schedule indicates a disciplined crew.
-
Lagging Indicators: Energy bills and the absence of indoor humidity spikes during heavy rain.
-
Qualitative Signals: The “tap test.” A properly installed rainscreen should sound solid, not hollow, and panels should not rattle in high winds.
-
Documentation Examples:
-
The Flashing Log: A series of photographs showing every window and door transition before the siding was installed.
-
The Blower Door Score: A measurement of the building’s airtightness post-installation compared to pre-installation.
-
Common Misconceptions and Oversimplifications
-
Myth: “Housewrap is waterproof.” Correction: Housewrap is water-resistive but vapor-permeable. It is designed to shed liquid water but allow water vapor to pass through. If it is “taped” incorrectly, it can act as a funnel rather than a shield.
-
Myth: “Caulk is the primary water barrier.” Correction: Caulk is a secondary aesthetic seal. A truly professional installation relies on flashings and gravity to shed water; caulk is the “last line of defense,” not the first.
-
Myth: “Vinyl is maintenance-free.” Correction: Vinyl requires annual cleaning to prevent surface oxidation and mold growth in the J-channels. It also becomes brittle over time and may require panel replacement after 20 years.
-
Myth: “Fiber cement never rots.” Correction: While the material itself is cementitious, it contains wood fibers. If the “cut ends” are not sealed during installation, the material can absorb water and swell (delaminate).
Synthesis: The Future of the Building Skin
The mastery of exterior cladding is shifting away from the selection of a single material and toward the engineering of a holistic system. The “best” siding installation tips are ultimately those that prioritize the long-term hydrothermal health of the structure over short-term labor savings. As we move into an era of more extreme weather events, the siding must be viewed as a dynamic interface—a skin that can breathe, drain, and move without compromising the structural skeleton it protects.
The ultimate judgment of a siding project is not its appearance on the day the scaffolding comes down, but its performance during a once-in-a-century storm. By adhering to the principles of pressure equalization, capillary breaks, and vapor management, the property owner transforms an exterior upgrade into a definitive statement of structural permanence. The facade is the building’s legacy; it should be treated with the scientific rigor that such a legacy demands.