Professional Siding Plans: The Definitive Guide to Building
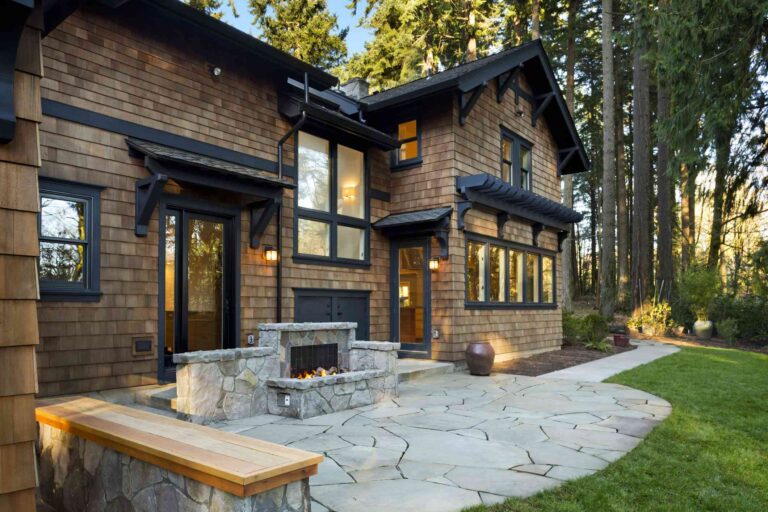
Exterior cladding is rarely a matter of singular selection; it is the culmination of structural engineering, building science, and aesthetic intent. When a residential or commercial project moves from the conceptual phase into execution, the quality of the protective envelope depends entirely on the precision of the underlying strategy. Professional Siding Plans. This isn’t merely about choosing a color or a material profile. It is about a coordinated system that manages moisture, thermal transfer, and structural integrity.
The complexity of modern building codes, coupled with the increasing volatility of regional climates, has shifted the industry away from “installation-by-feel.” Today, high-performance building envelopes require a documented roadmap. These documents serve as the bridge between the architectural vision and the physical reality of the job site, ensuring that every flashing detail and fastening pattern contributes to a multi-decade lifecycle.
A failure to account for the minute details—such as the expansion coefficient of cellular PVC or the specific drainage gap required for rainscreen systems—can lead to systemic rot, mold, and premature material degradation. Consequently, the development of comprehensive blueprints for the exterior skin has become a non-negotiable standard for high-end construction and long-term property management.
Understanding “professional siding plans”
At its core, the term refers to the specialized subset of architectural drawings and technical specifications that dictate exactly how an exterior cladding system is to be integrated into a structure. It is a common misunderstanding to view these plans as simple “elevations” that show where the siding goes. In reality, a professional set of plans addresses the three-dimensional intersection of different materials, particularly at high-stress points like windows, doors, and rooflines.
Oversimplification is the primary risk here. Many property owners assume that the “plan” is just the manufacturer’s installation guide. However, a manufacturer’s guide is generic; it doesn’t know the wind load of a specific coastal bluff or the humidity levels of a specific microclimate. Professional siding plans take those generic rules and apply them to a specific geometry. They solve the “edge cases”—what happens when a stone water table meets a vertical cedar plank, or how a continuous insulation layer is maintained without creating a thermal bridge at the rim joist.
A truly professional plan must account for:
-
The Drainage Plane: Identifying exactly how water that gets behind the siding will escape.
-
Fastening Schedules: Specificity on nail type, depth, and frequency to meet local wind-uplift requirements.
-
Expansion and Contraction: Calculations for how materials will move during a 100-degree temperature swing.
-
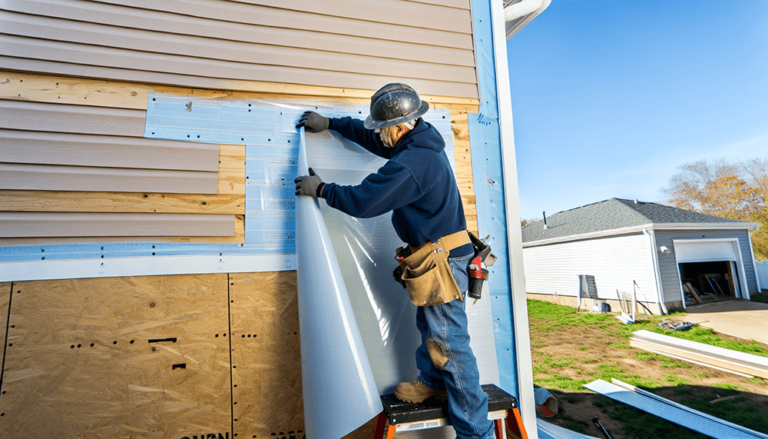
Sequential Integration: The order of operations for house wrap, flashing tapes, and trim to ensure “shingle-lapping” (where every layer sheds water to the layer below it).
Historical Evolution of Building Envelopes
The transition from “shelter” to “high-performance envelope” has been a slow, often painful evolution. In the early 20th century, mass-wall construction—thick layers of brick or stone—relied on sheer bulk to manage moisture. These walls would get wet, but they were so thick and breathable that they would dry out before the moisture reached the interior.
With the advent of light-frame wood construction, the “reservoir” capacity of the wall vanished. We began relying on thin layers of wood clapboard. The mid-century move toward tighter, more insulated homes created a new problem: trapped moisture. As we added more insulation, the heat from the interior no longer escaped to dry out the siding. This led to the “sick building” era and the realization that siding could no longer be viewed as a standalone aesthetic choice.
The modern era is defined by the Rainscreen Principle. This is a systemic shift where the siding is no longer expected to be 100% waterproof. Instead, it is treated as a “screen” that takes the brunt of the weather, while a dedicated, ventilated gap behind it allows for drainage and drying. Modern plans are now judged by how well they manage this “hidden” space behind the visible boards.
Conceptual Frameworks and Mental Models
To navigate the design of a siding system, professionals use several mental models that prioritize physics over aesthetics.
1. The 4Ds of Water Management
This is the foundational framework for any exterior plan.
-
Deflection: Using wide overhangs and drip edges to keep water off the walls entirely.
-
Drainage: Providing a clear path for water that breaches the siding to run down and out.
-
Drying: Allowing air to circulate behind the siding to evaporate residual moisture.
-
Durable Materials: Selecting substrates that can withstand occasional wetting without losing structural integrity.
2. The Continuity Principle
This model treats the building like a submarine. The air barrier, water barrier, and thermal barrier must be continuous. If there is a gap in the plan at the floor joists or where the wall meets the soffit, the entire system is compromised. Professionals look for the “red line” test: can you draw a continuous line around the entire building section without lifting your pen?
3. The Permeability Paradox
Materials must be “tight” enough to keep liquid water out but “open” enough to let water vapor escape. Understanding the “Perm” rating of various components is critical. A plan that uses a high-perm house wrap but covers it with a non-breathable foam and then a tight-fitting vinyl siding can create a “moisture sandwich,” leading to catastrophic wall failure.
Material Categories and Performance Trade-offs
Choosing a material is a balancing act between initial cost, maintenance requirements, and environmental suitability. No single material is superior in all contexts.
| Material Type | Durability | Maintenance | Best Use Case | Primary Drawback |
| Fiber Cement | High | Moderate | Fire-prone areas, suburbs | Heavy; requires specialized cutting tools |
| Natural Cedar | Moderate | High | Custom high-end residential | Prone to rot if not back-primed |
| Engineered Wood | High | Moderate | High-wind zones | Vulnerable if cut edges aren’t sealed |
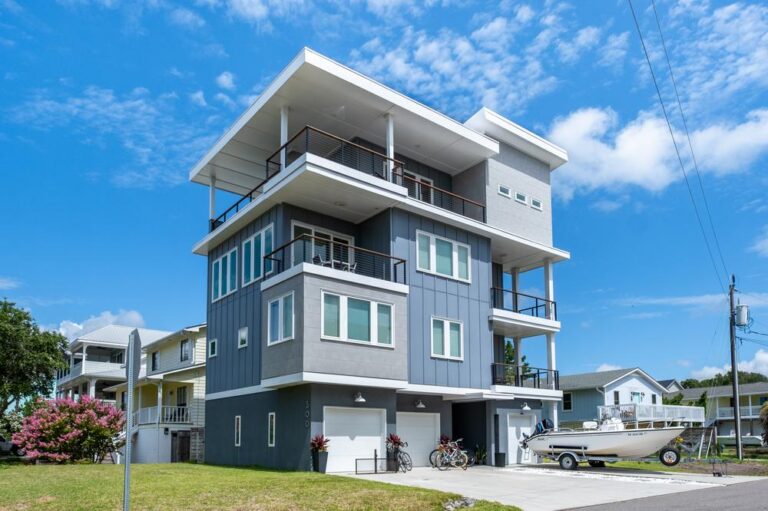
| Metal (Alum/Steel) | Very High | Low | Modern/Industrial designs | Can dent; high thermal conductivity |
| Cellular PVC | Very High | Very Low | Coastal/High-moisture | High expansion/contraction rates |
| Brick/Stone Veneer | Maximum | Low | Traditional/Luxury | Extremely high initial cost and weight |
Decision Logic for Material Selection
When developing professional siding plans, the logic follows a hierarchy:
-
Climate Zone: Does the material handle freeze-thaw cycles?
-
Exposure: Is the wall south-facing (high UV) or north-facing (perpetual dampness)?
-
Local Labor: Do local contractors have the specific tools and experience to install this material correctly? (e.g., specialized welding for zinc panels).
-
Aesthetics vs. Reality: Does the desire for a “seamless” look conflict with the physical need for expansion joints?
Detailed Real-World Scenarios Professional Siding Plans
Scenario 1: The Coastal Bluff (High Wind/Salt Spray)
In a coastal environment, the pressure differentials are immense. A standard nail pattern won’t suffice. The plan must specify stainless steel fasteners to resist corrosion and a “pressure-equalized rainscreen.” This involves compartmentalizing the air space behind the siding so that the pressure behind the panel matches the pressure in front of it, neutralizing the force that “sucks” water into the wall.
Scenario 2: The High-Altitude Retreat (Extreme UV/Snow Loading)
At 8,000 feet, UV radiation destroys organic binders in paint and wood at double the sea-level rate. Furthermore, snow can sit against the bottom 2-3 feet of the wall for months. The professional plan here calls for a “kick-out” flashing at every roof-to-wall intersection and a significant clearance (usually 6-8 inches) between the siding and the grade or decking.
Scenario 3: The Urban Infill (Fire Code/Tight Quarters)
In dense urban environments, “Fire-Resistance Rated” assemblies are the priority. The siding plan isn’t just about the finish; it’s about the entire wall assembly, including Type X gypsum sheathing and non-combustible mineral wool insulation. Every penetration—venting, electrical, plumbing—must be fire-stopped.
Planning, Cost, and Resource Dynamics
The financial aspect of siding is often misunderstood as just “dollars per square foot.” A professional analysis looks at the Total Cost of Ownership (TCO).
| Cost Component | Impact on Budget | Frequency | Notes |
| Substrate Prep | 15-20% | Initial | Includes sheathing repair and house wrap |
| Material Cost | 30-50% | Initial | High variability based on market prices |
| Labor (Specialized) | 25-40% | Initial | Complex patterns (herringbone, etc.) increase cost |
| Painting/Staining | 10-15% | Every 5-8 years | Ongoing cost for wood and fiber cement |
| Soft Costs | 5% | Initial | Engineering, permits, and professional plans |
Opportunity cost must also be considered. Choosing a lower-cost vinyl might save $15,000 today, but if it reduces the home’s resale value or requires replacement in 12 years due to storm damage, the “savings” are illusory.
Tools, Strategies, and Support Systems
Executing a professional siding plan requires a suite of specialized tools and systemic strategies that go beyond a hammer and a saw.
-
BIM (Building Information Modeling): For complex structures, 3D modeling allows designers to “clash detect”—finding where a gutter might interfere with a siding transition before a single board is cut.
-
Moisture Meters: Crucial for wood siding. Installing cedar that has a high moisture content will lead to shrinkage and cupping as it dries on the wall.
-
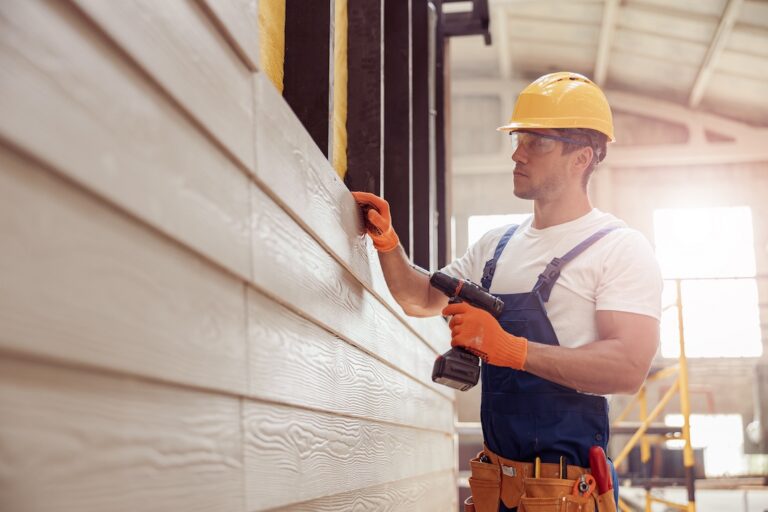
Pneumatic Fastener Control: Depth-of-drive is critical. A nail driven too deep crushes the material’s core; a nail too shallow allows the board to rattle and blow off in the wind.
-
Flashing Membranes: High-performance butyl or acrylic tapes that “self-seal” around nail penetrations.
-
Hidden Fastening Systems: Used in high-end rainscreens (like Ipe or Cumaru) to allow for movement without visible screw heads.
-
Starter Strips and Vented Closures: Precision-engineered profiles that allow air in at the bottom and out at the top while keeping insects and rodents out.
Risk Landscape and Failure Modes
The primary risks in siding installation are rarely the catastrophic “wall falling down” variety. Instead, they are slow, compounding failures.
-
Reverse Lapping: This is the “cardinal sin” of siding. When a piece of flashing or house wrap is tucked behind the layer below it, water is funneled directly into the structure. It is the most common cause of hidden rot.
-
Over-driven Fasteners: In fiber cement or engineered wood, over-driving the nail breaks the protective coating, allowing water to wick into the cellulose fibers. This leads to “mushrooming” or “blind rot.”
-
Missing Kick-out Flashing: Where a roof edge meets a vertical wall, a massive amount of water is concentrated. Without a specific “kick-out” diverter, this water is forced behind the siding.
-
Inadequate Clearance: Siding installed too close to a roofline or the ground will “wick” moisture upward via capillary action.
Governance, Maintenance, and Long-Term Adaptation
A professional siding plan should include a “Life Cycle Management” section. Buildings are dynamic; they settle, expand, and age.
The Layered Checklist for Annual Monitoring
-
Ground-Level Inspection: Check for “splash-back” damage or soil piling up against the siding.
-
Penetration Review: Inspect the caulk around windows, dryer vents, and hose bibs. Caulking is a 5-year product on a 30-year wall; it will fail and need replacement.
-
Vegetation Management: Ensure trees and shrubs are at least 12-18 inches from the wall to allow for airflow and prevent physical abrasion.
-
Drainage Check: Ensure gutters aren’t overflowing onto the siding face.
Adjustment Triggers
If you notice “telegraphing” (where the shape of the studs becomes visible through the siding) or persistent salt efflorescence on masonry, these are signals that the internal moisture management system is overwhelmed. These triggers should prompt a professional thermal imaging scan to locate hidden leaks.
Measurement, Tracking, and Evaluation
How do you measure the success of a siding installation? It isn’t just that it looks good on day one.
Quantitative Signals
-
Thermal Performance: Comparing energy bills before and after a siding/insulation overhaul.
-
Fastener Retention: Periodic checks (especially after a major storm) to ensure no panels have shifted or “unzipped.”
-
Relative Humidity: In high-performance “smart” walls, sensors are sometimes placed inside the wall cavity to monitor moisture levels in real-time.
Qualitative Signals
-
Acoustic Damping: A well-planned siding system with an air gap and high-density insulation significantly reduces exterior noise infiltration.
-
Visual Uniformity: Checking for “oil-canning” in metal panels or uneven fading in vinyl/composite materials.
Documentation Requirements
A professional handover package should include:
-
The original professional siding plans.
-
The “Color Map” (specific paint codes or batch numbers for the material).
-
Warranty certificates for the substrate, the finish, and the flashing tapes.
-
Photographic documentation of the “rough-in” (the wall before the siding was applied, showing the flashing and house wrap).
Common Misconceptions and Oversimplifications
Myth 1: “Maintenance-free” exists.
No exterior material is maintenance-free. Even “rot-proof” materials like metal or PVC require cleaning to prevent the buildup of organic matter that can trap moisture against the seals.
Myth 2: Caulk is a permanent waterproof solution.
In a professional plan, caulk is the secondary defense. The primary defense is the mechanical flashing. If the system relies on a bead of sealant to stay dry, it is a failed design.
Myth 3: House wrap is a “bag” that keeps the house dry.
House wrap is highly engineered. It must be “vapor open.” Wrapping a house in plastic sheeting (a vapor barrier) instead of a proper house wrap (a weather-resistive barrier) will often rot the house from the inside out.
Myth 4: Vinyl siding is “cheap” and therefore bad.
Modern, high-gauge vinyl with foam backing can be an excellent performer in specific climates. The “bad” reputation usually comes from poor installation or using thin, builder-grade materials.
Myth 5: Fiber cement doesn’t need to be painted.
Unless it is pre-finished at the factory, fiber cement is highly absorbent. Even pre-finished products eventually require a recoat to protect the underlying cementitious matrix from moisture-induced delamination.
Ethical and Contextual Considerations
The selection of a siding plan also carries an environmental weight. The carbon footprint of various materials—from the high-energy production of aluminum to the chemical intensive nature of PVC—must be weighed against their longevity. A material that lasts 50 years with moderate maintenance is often more “green” than a natural material that needs to be replaced every 15 years due to harsh environmental exposure.
Furthermore, there is a “neighborhood ethics” component. Professional planning respects the architectural vernacular of a region while pushing the envelope of performance. It avoids the “architectural discord” of placing a high-gloss industrial metal on a 19th-century colonial streetscape, instead finding modern ways to mimic those classic profiles with more durable, modern assemblies.
Conclusion
The transition from a simple “home improvement” mindset to the implementation of professional siding plans marks the maturity of a building project. By moving away from aesthetic-first decision-making and toward a physics-based, systemic approach, property owners and developers ensure that the structure remains both beautiful and viable for generations. The true value of a plan lies not in the materials it selects, but in the way it manages the invisible forces of air, water, and heat. In an era of shifting climates and increasing material costs, a detailed roadmap is the only way to transform a building’s exterior from a potential liability into a permanent asset.